
It never ceases to amaze me just how many things there are that makes me say, "I've always wanted to make that!" As much as I've slowly chipped away at that unwritten list over the years, I've resigned myself to the fact that I will never completely check off everything and be done. And that's not a bad thing. I still love a good project, gaining a new experience, learning new techniques, and savoring the satisfaction of creating something tasty that I can share with my family.

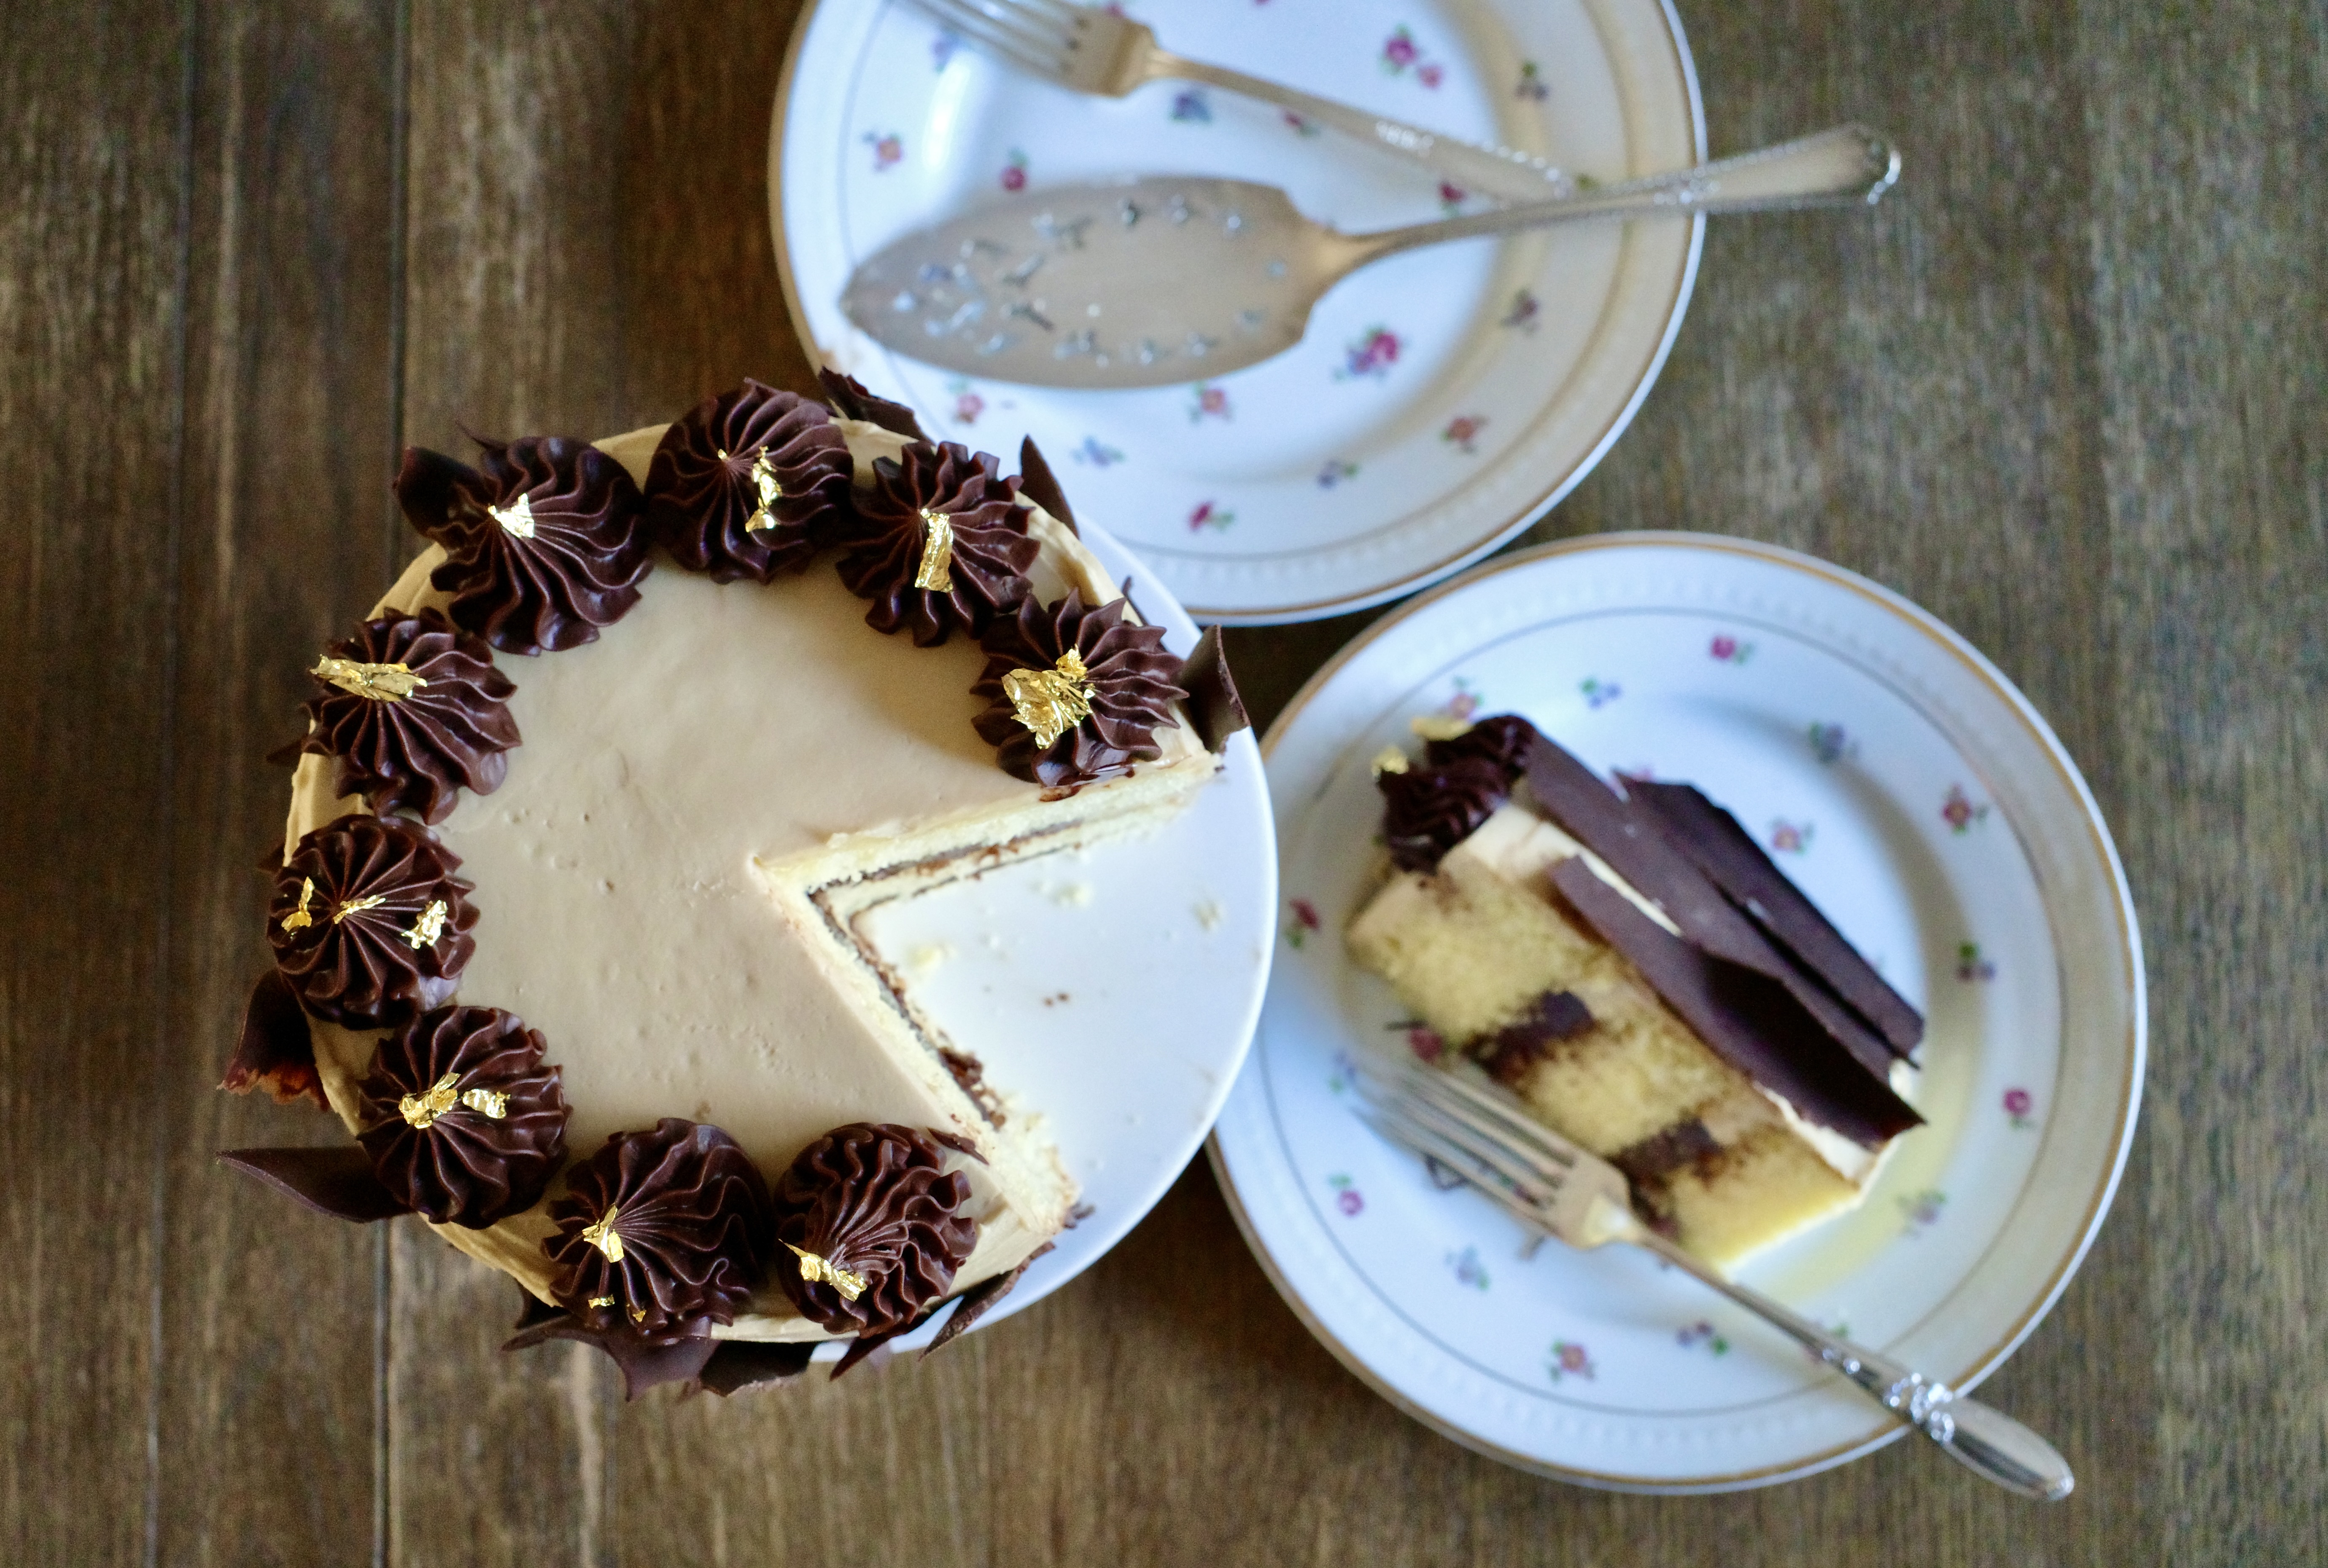
Opera cake is one of those iconic French desserts that I've always wanted to make. Seven layers of alternating jocande, or almond sponge cake, with coffee buttercream and chocolate ganache, topped with a chocolate glaze - plus, a serious soaking in coffee syrup for the cake layers. Everything melds together for a delectable coffee-chocolate experience.

Maybe with a spurt of New Year energy for learning something new and making more time to do things I enjoy, I recently made not one but two Opera cakes! One of those is the classic version we can hardly resist from pastry shop display cases. Its delicate layers of flavor requires some planning and patience but it's nice sometimes to clear the decks and make time to focus on a (sweet) project or two.

After so many years of wanting to make Opera cake, little did I know it would actually begin with a beautiful, albeit unconventional, layer-cake version I spotted in a gorgeous book I received at Christmas.
It was the inspiration I needed to check Opera cake off my unwritten list and after making the layer cake rendition, with all its many steps, I had the confidence (and heightened curiosity) to tackle the classic. Both were delicious and well worth the effort.


